Summary
Different from MAC, if your computer is Windows, it's more difficult to use the EelPhone Activation Lock Removal, but from the article, you'll get the detailed steps to use the removal on Windows.
EelPhone Activation Lock Removal is one software from EelPhone Activation Lock Removal, which can remove iPhone/iPad/iPod activation lock without password, you should also the help of it about all operations when you're asked to enter the linked Apple ID and password but you forgot. Even when you factory reset iPhone/iPad/iPod, in the case that Find My iPhone was enabled, your iPhone/iPad/iPod will get into activation lock.
Without Apple ID and password, the last hope you can get into iCloud locked iPhone/iPad/iPod is EelPhone Activation Lock Removal, if you don't have MAC, or you can't borrow one MAC from your friend, use the EelPhone Activation Lock Removal by following the steps below.
How to use EelPhone Activation Lock Removal on Windows
Compared with MAC version, if your have downloaded Windows version to your Windows, it's more complex than MAC version, so it's better to use the MAC version on MAC if you can get the MAC.
Step 1: First of all, you should download the Windows version by click on Download the button above. Launch it after the installation. Read the precautions before clicking on the Start button, the precautions are important for you.
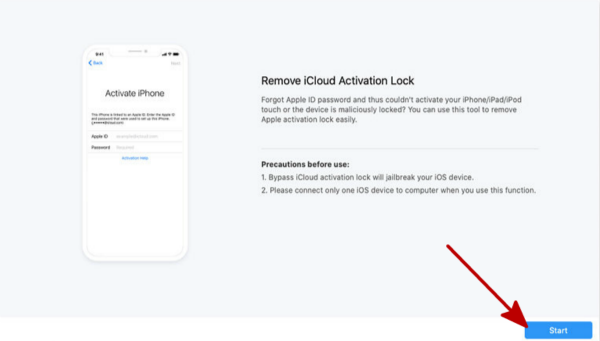
Once clicked on the Start button, the removal will pop up one notice, you should agree to the agreement and then click on the Next button to go on.

Step 2: Connect your iCloud locked iPhone/iPad/iPod to the computer via USB cable. Get help from the removal if your iDevice can't be linked to the removal by clicking on “Device is connected bu not recognized”
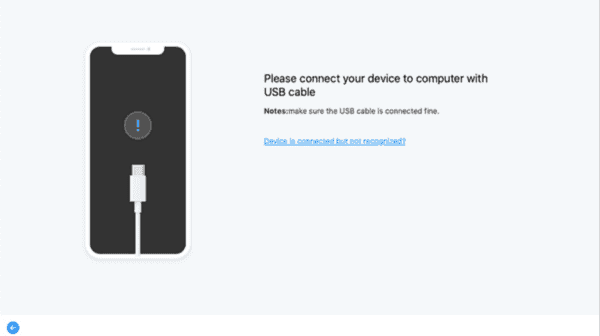
Step 3: Once your iDevice linked to the Windows, the activation removal will download the jailbreak tool automatically, don't disconnect your iDevice! And the network on the Windows should be available during the whole process.

Step 4: Till now, you should burn the jailbreak environment to the USB flash drive, so you need one USB flash drive and insert it to the Windows, select the USB flash drive to burn the jailbreak environment. Tap on Start button to burn the jailbreak environment immediately.
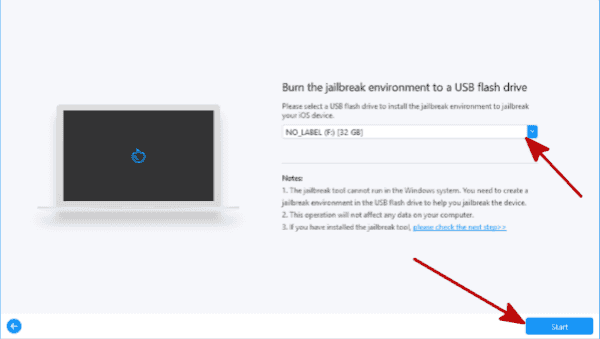
Note: Make sure that the USB flash drive has space over 2GB and the data in the drive will be erased, move the important data in the USB flash drive in advance.
When popping up the window on the removal, it's the notice, tap on YES to start burning jailbreak environment.
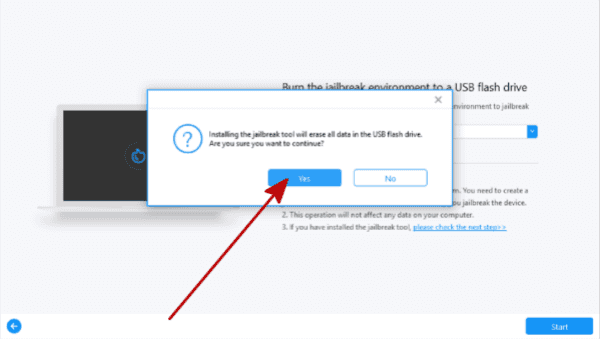
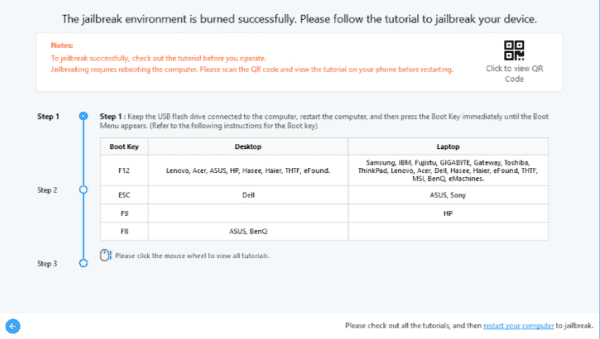
Step 5: It takes a few minutes to download the jailbreak environment to the USB flash drive, keep connection, once the jailbreak environment downloaded, follow the steps on the removal to jailbreak your iDevice.
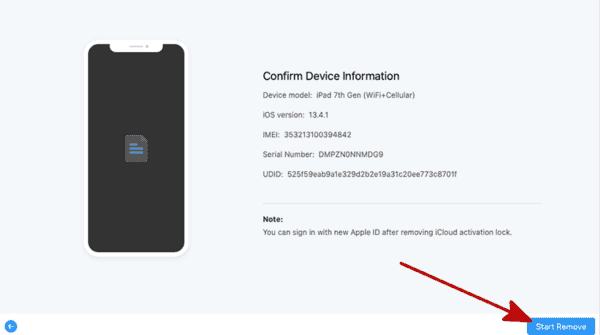
Step 6: When your iDevice was jailbreak with success, your iDevice model information will appear on the removal, please check the model information of your activation locked iDevice, click on Start Remove to start removing the activation lock on iPhone/iPad/iPod, please keep connection during the whole process.
Step 7: The removal process takes a few minutes, be patient, and keep the connection, retry if the process failed.
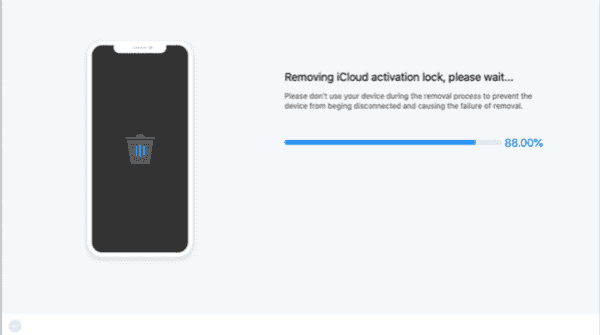
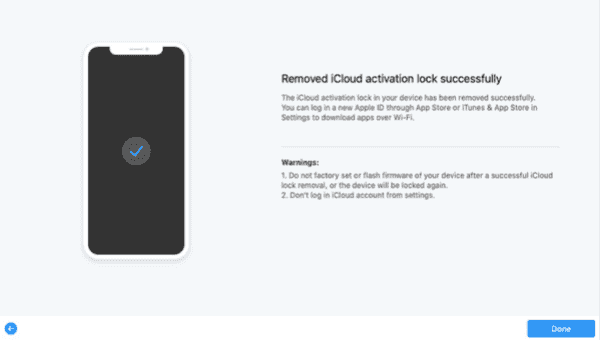
Step 6: Read the warnings after the successful process on the removal: don't factory reset iDevice after having unlocked activation lock on the iDevice; don't use new Apple ID and password to settings, but you can use the Apple ID and password on app if asked.
Note: When you're asked to enter the Apple ID and password, click on Forgot Password select to bypass the Apple ID verification.
The difference between MAC version and Windows version is the jailbreak process, for MAC version, just clicks by following the guide on the removal, it's almost automatic, but for Windows version, you should follow the tutorial on the removal to jailbreak iDevice manually, but also detailed guided to jailbreak iDevice by clicking on the link on the removal.
Alex Scott
This article was updated on 09 June, 2021

Likes
 Thank you for your feedback!